Introduction:
Collagen, a protein that keeps our skin looking youthful and supple, has become a sought-after ingredient in the beauty industry. While collagen supplements and skincare products are readily available, many are looking for more natural and cost-effective alternatives. One unconventional method gaining attention is extracting collagen from roadkill. In this article, we will guide you through the process of extracting collagen from roadkill for DIY face masks.

1. Safety First:
Before you embark on this DIY project, it’s crucial to prioritize safety. Always wear protective gloves, masks, and eye protection to avoid any potential contamination or injury. Additionally, ensure that the roadkill you choose is free from disease and has not been exposed to chemicals or pollutants.
2. Choose the Right Roadkill:
Select a roadkill that is a large animal, such as a deer or a pig, as these tend to have higher collagen content. Smaller animals like squirrels or rabbits may not yield enough collagen for your DIY face masks.
3. Gather Your Materials:
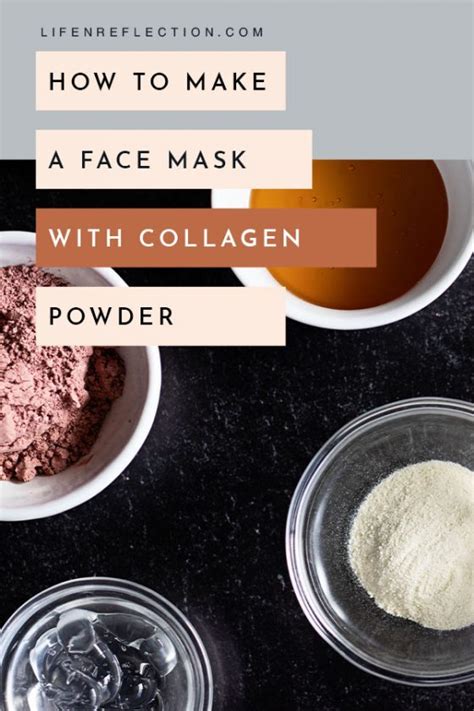
To extract collagen from roadkill, you will need the following materials:
– A clean, sharp knife
– A cutting board
– A pot
– A cheesecloth or fine mesh sieve
– Salt
– A refrigerator
– A blender or food processor
4. Prepare the Roadkill:
Start by thoroughly cleaning the roadkill with soap and water. Remove any entrails and excess fat. Cut the meat into small, bite-sized pieces to facilitate the extraction process.
5. Boil the Meat:
Place the meat pieces in a pot and cover them with water. Add a pinch of salt to help extract the collagen. Bring the water to a boil, then reduce the heat and let it simmer for about 2-3 hours. The longer you cook the meat, the more collagen you will extract.
6. Separate the Collagen:
After boiling, remove the pot from the heat and allow the mixture to cool slightly. Line a cheesecloth or fine mesh sieve with a clean cloth and place it over a bowl. Pour the mixture into the sieve, allowing the liquid to drain into the bowl. The liquid will contain the extracted collagen.
7. Concentrate the Collagen:
Place the bowl with the collagen liquid in the refrigerator for several hours or overnight. The liquid will solidify, and the collagen will separate from the water. Once solidified, scrape the collagen off the sides of the bowl and into a separate container.
8. Prepare the DIY Face Mask:
To use the extracted collagen for a face mask, mix it with a carrier oil, such as coconut oil or jojoba oil, to create a paste. Apply the paste to your face, avoiding the eye area. Leave it on for 10-15 minutes, then rinse off with warm water.
Conclusion:
Extracting collagen from roadkill for DIY face masks is an unconventional and potentially controversial method. However, if you’re up for the challenge and prioritize safety, this DIY project can provide you with a natural and cost-effective alternative to commercial collagen products. Just remember to always prioritize safety and use your best judgment when considering this method.